

How To Customise Colours On A Template Word16.16
Lesson 19: Formatting Pictures
/en/word2016/pictures-and-text-wrapping/content/
Introduction
There are many ways to format pictures in Discussion. For instance, y'all tin change the size or shape of an image to better suit your certificate. Yous can also heighten its appearance using Word'due south prototype adjustment tools.
Optional: Download our practice certificate.
Sentry the video below to learn more near formatting pictures.
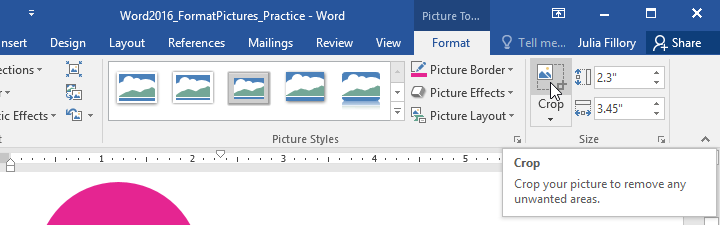
To ingather an image:
When you crop an image, part of the picture is removed. Cropping can be useful if yous're working with an image that's too big and you want to focus on but function of it.
- Select the image you want to crop. The Format tab will announced.
- From the Format tab, click the Crop command.
- C ropping handles will appear on the sides and corners of the image. Click and drag any handle to ingather the paradigm. Because the cropping handles are near the resizing handles, be careful non to drag a resizing handle by mistake.
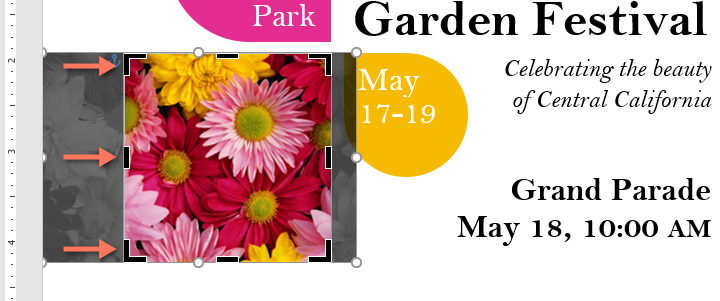
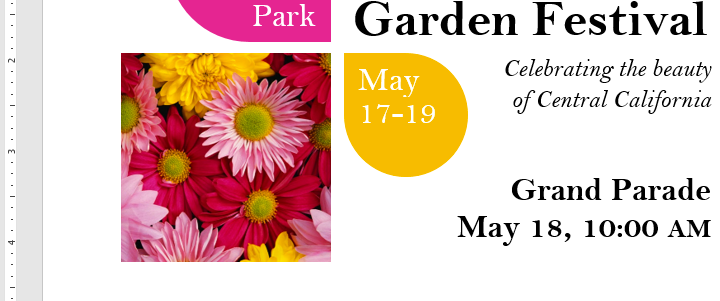
- To confirm, click the Ingather control again. The epitome will be cropped.
The corner handles are useful for simultaneously cropping the image horizontally and vertically.
To crop an prototype to a shape:
- Select the image you want to ingather, and then click the Format tab.
- Click the Crop drop-down arrow. Hover over Crop to Shape, then select the desired shape from the drop-downwards card.
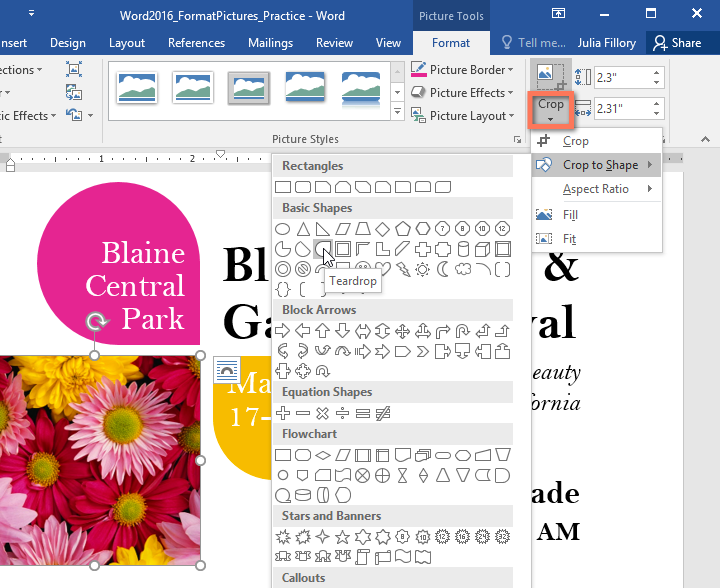
- The image will be cropped to the called shape.
To add a border to a picture:
- Select the picture you want to add a edge to, then click the Format tab.
- Click the Picture Border command. A drop-down menu will appear.
- From here, you tin select a color, weight (thickness), and whether the line is dashed.
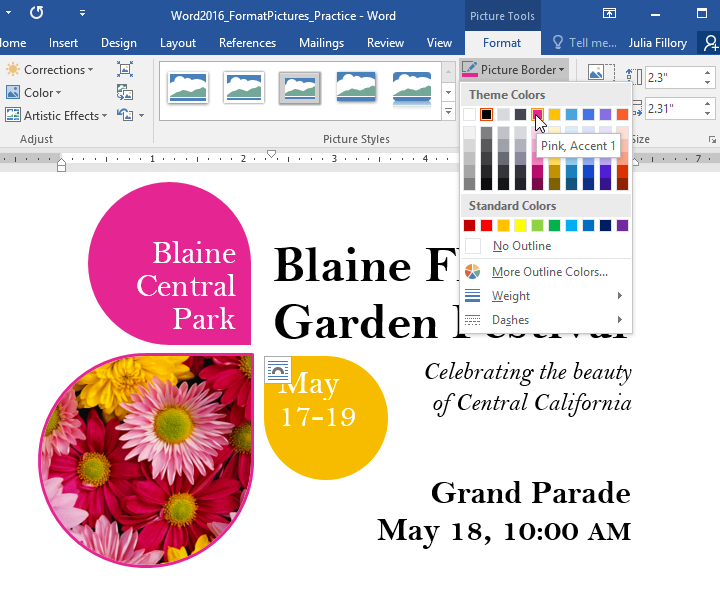
- The border will appear around the image.
Making image adjustments
With Word's image aligning tools, you lot can easily fine tune properties like color, contrast, saturation, and tone. Word as well offers built-in picture show styles, which can be used to add a frame, drop shadow, and other predefined furnishings.
When you're ready to arrange an image, simply select it. Then use the options beneath, which can be establish on the Format tab.
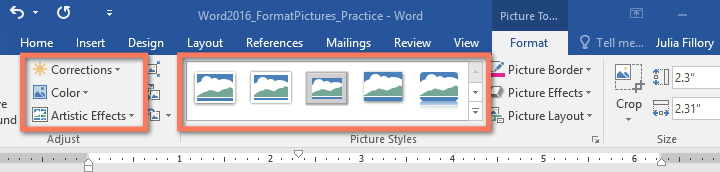
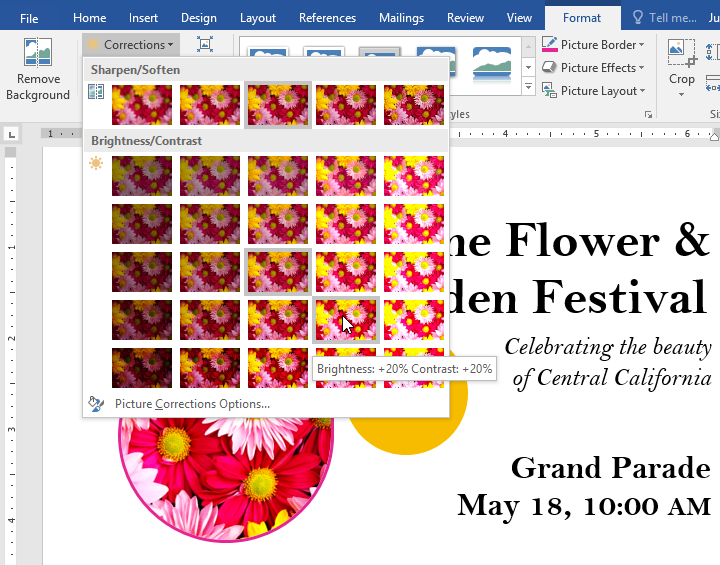
Corrections
From hither, you can acuminate or soften the image to adjust how clear or blurry it appears. You can also adjust effulgence and contrast, which affect the image'southward lightness and full general intensity.
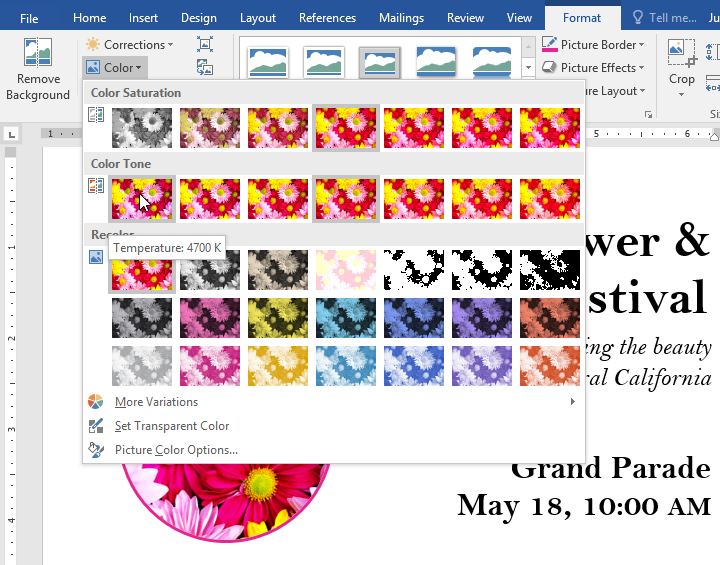
Colour
Using this command, yous tin adjust the image's saturation (how vibrant the colors appear), tone (the colour temperature of the image, from cool to warm), and coloring (the overall tint of the epitome).
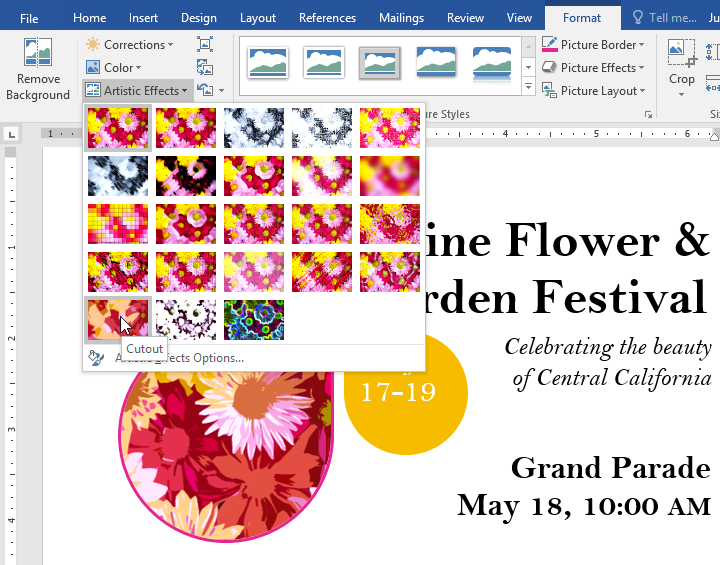
Artistic Effects
Here, you can apply special furnishings to your paradigm, such equally pastel, watercolor, or glowing edges. Because the results are so bold, you lot may want to use these effects sparingly (especially in professional documents).
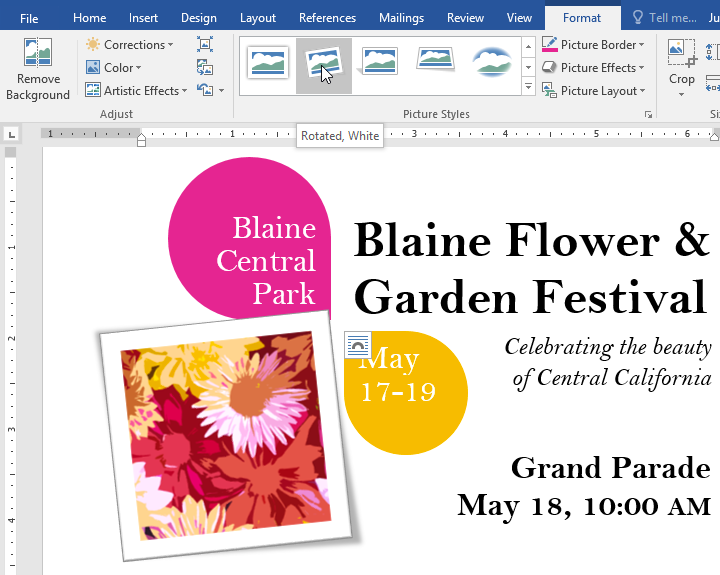
Picture show Styles group
This group contains many different predefined styles that make prototype formatting even easier. Flick styles are designed to frame your epitome without irresolute its basic settings or effects.
Compressing pictures
If you plan to email a certificate that contains pictures, you'll need to monitor its file size. Big, high-resolution images tin can cause your document to become very big, which may brand it difficult to attach to an email. Additionally, cropped areas of pictures are saved inside the certificate by default, which can add to the file size.
Thankfully, you can reduce your document's file size by compressing your pictures. This volition lower their resolution and delete cropped areas.
Compressing a film may noticeably affect its quality (for instance, the prototype may become blurry or pixelated). Therefore, we recommend saving an extra re-create of your document before you compress pictures. Alternatively, be prepared to use the Undo command if you're dissatisfied with the results.
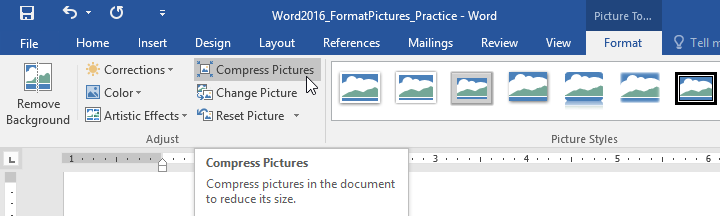
To compress a pic:
- Select the motion-picture show you want to compress, so navigate to the Format tab.
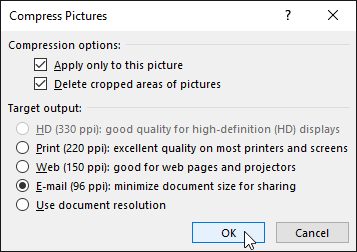
- Click the Shrink Pictures command.
- A dialog box will announced. Check the box adjacent to Delete cropped areas of pictures. You can also cull whether to apply the settings to this motion picture only or to all pictures in the document.
- Choose a Target output. If you are emailing your document, you may desire to select Electronic mail, which produces the smallest file size.
- Click OK.
Challenge!
- Open our do document.
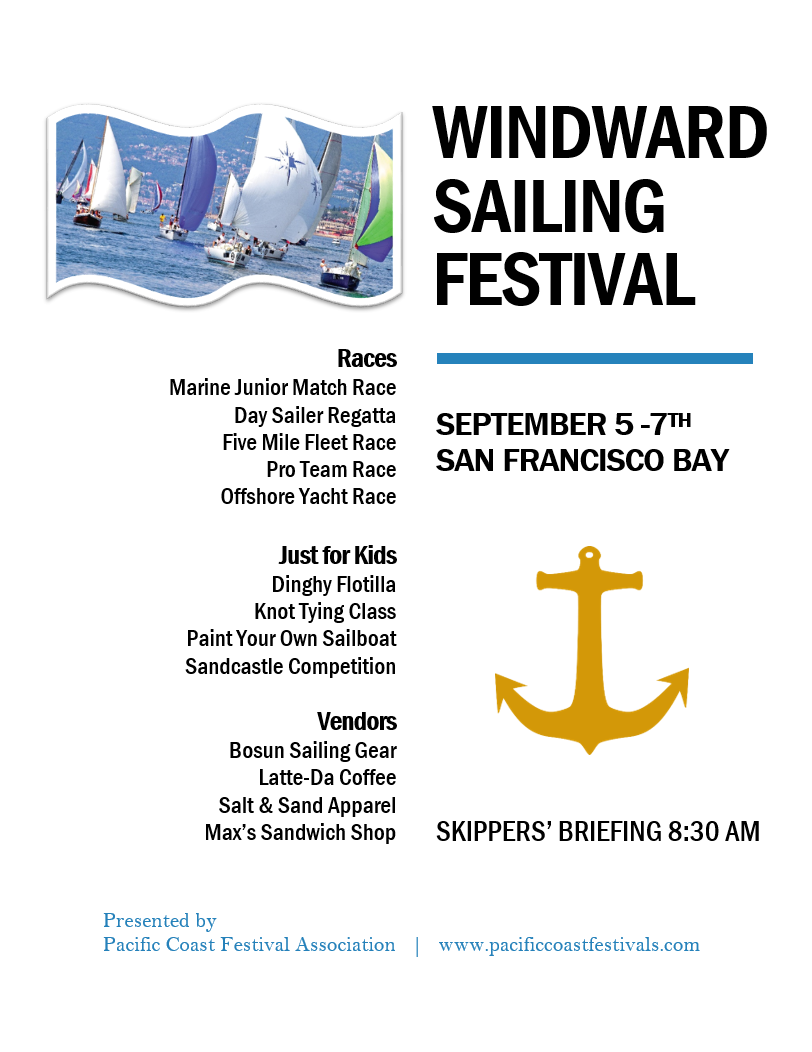
- Scroll to page two and select the motion-picture show of the sailboats.
- In the Format tab, modify the manner to Simple Frame, White.
- With the picture still selected, use Ingather to Shape and crop to the Double Wave shape in the Stars and Banners category. Hint: The shape names will appear when you hover over them.
- Select the picture of the anchor.
- In the Format tab, employ the Colour drop-down menu to recolor the anchor to Gold, Accent color 2 Low-cal.
- When you're finished, your page should look like this:
/en/word2016/shapes/content/

How To Customise Colours On A Template Word16.16,
Source: https://edu.gcfglobal.org/en/word2016/formatting-pictures/1/
Posted by: bishopknoton.blogspot.com
0 Response to "How To Customise Colours On A Template Word16.16"
Post a Comment